fucking delicious
fuckingdelicious.co
https://fuckingdelicious.co/recipes/no-knead-bread
Breads
No-Knead Bread
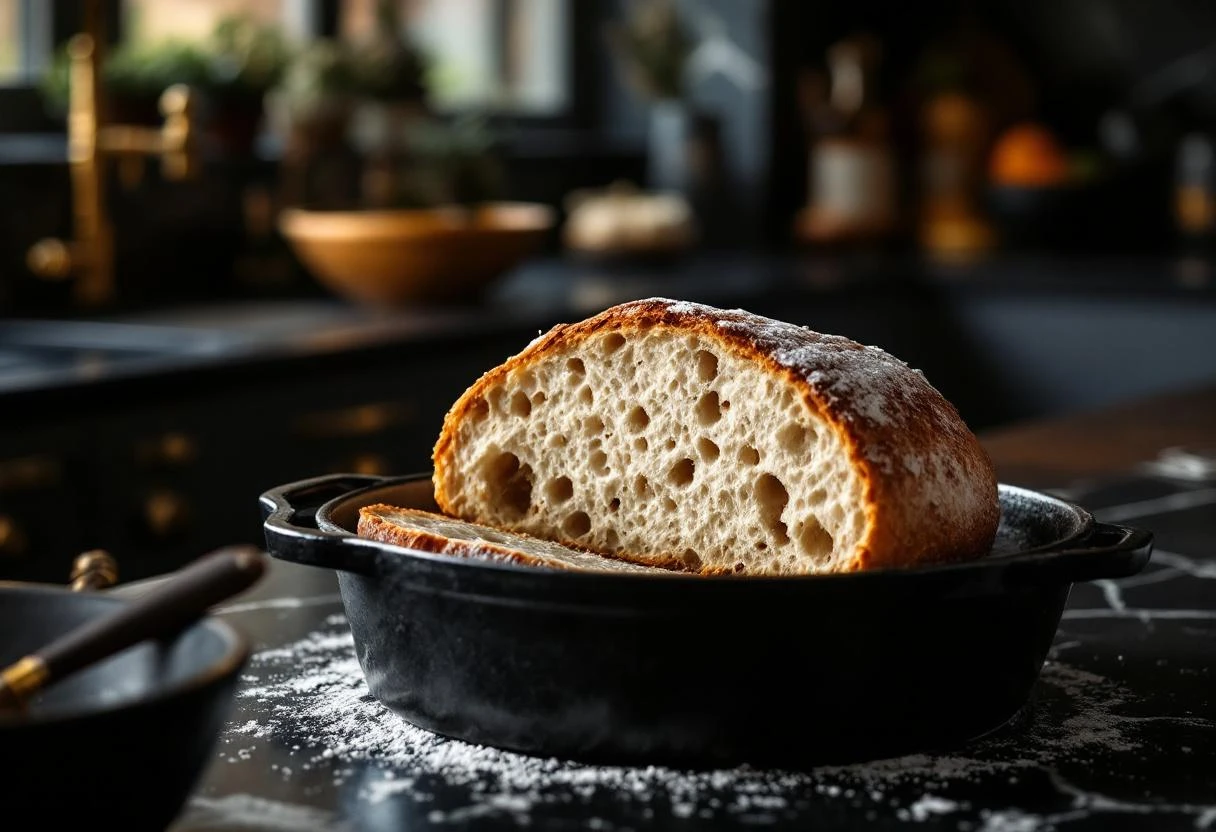
This bread will make you feel like a fraud. You'll pull a gorgeous, golden, crusty, crackly loaf out of the oven that looks like it came from a $12-a-loaf artisan bakery, and all you did was stir four ingredients together and wait. That's it. No kneading. No mixer. No special skills. No bread-making experience required. The secret is time. Instead of kneading the dough to develop gluten (the protein network that gives bread its structure and chew), you let it sit for 12-18 hours and the gluten develops on its own. It's called autolysis and it's been known by professional bakers for decades, but it took a New York Times recipe to bring it to home bakers. The other secret is baking in a Dutch oven, which traps steam and creates that shattery, crackly crust that you can hear from across the room. This is the recipe I recommend to anyone who says 'I can't bake bread.' Yes you can. You literally just stir and wait. If you can make oatmeal, you can make this bread. And it will be the best bread you've ever eaten. Bruhhhh I'm not exaggerating.
Ingredients
- 3 cups all-purpose flour (or bread flour for chewier texture)
- 1 1/2 tsp fine sea salt
- 1/2 tsp instant yeast (not active dry)
- 1 1/2 cups water (room temperature)
Instructions
- 1
Mix the dough (2 minutes of work)
In a large bowl, whisk together 3 cups flour, 1 1/2 tsp salt, and 1/2 tsp instant yeast. Add 1 1/2 cups room temperature water and stir with a wooden spoon or spatula until a shaggy, sticky dough forms. It will look rough, messy, and nothing like bread dough. That's exactly right. You're not trying to make it smooth. You're just trying to hydrate the flour. Scrape down the sides of the bowl, cover tightly with plastic wrap, and walk away.
- 2
Wait 12-18 hours (do literally nothing)
Leave the covered bowl on your counter at room temperature. Don't put it in the fridge. Don't put it in a warm spot. Just counter. Room temp. Go to bed, go to work, watch a movie, live your life. The yeast and time do all the work. After 12-18 hours, the dough should look bubbly on the surface, it should have roughly doubled in size, and when you poke it, it should feel loose and airy. If it hasn't risen much, your kitchen might be too cold. Give it a few more hours. The dough is ready when it's bubbly and smells yeasty and slightly tangy.
- 3
Shape the dough
Generously flour a work surface. Scrape the dough out of the bowl onto the flour. It will be very sticky and wet. That's correct. Don't add more flour to the dough itself. Flour your hands and gently fold the edges of the dough toward the center, going around the whole circle. Flip it over so the seam side is down. The top should look smooth and taut. Don't handle it too much. You're not kneading. You're just giving it a basic shape. Cover with a kitchen towel and let it rest for 30 minutes.
- 4
Preheat the Dutch oven
About 30 minutes before baking, place your Dutch oven (with the lid) in the oven and preheat to 450°F (230°C). The Dutch oven needs to be screaming hot. This is what creates the crust. The pot traps steam from the wet dough, which keeps the outside moist long enough for the bread to expand fully before the crust sets. Without the steam, you get a thick, tough crust. With the steam, you get a thin, crackly, shattery crust.
- 5
Bake
Carefully remove the screaming hot Dutch oven (use oven mitts, obviously, this thing is 450°F). Gently drop or lower the shaped dough into the pot. It doesn't have to be pretty. Ugly bread tastes just as good. If you want, slash the top with a razor blade or sharp knife. This is optional but it controls where the bread splits during baking and looks professional. Put the lid back on. Bake covered for 30 minutes. Then remove the lid and bake uncovered for another 12-15 minutes until the crust is deep golden brown and the bread sounds hollow when you tap the bottom. If it doesn't sound hollow, it needs more time.
- 6
Cool (the hardest part of the entire recipe)
Remove the bread from the Dutch oven and place it on a wire rack. Let it cool for at least 30 minutes before cutting. I know. The crust is crackling and popping and it smells insane and every fiber of your being is screaming CUT IT NOW. But if you cut hot bread, the inside will be gummy and wet because the moisture hasn't had time to redistribute. After 30 minutes, cut into it with a serrated knife. The crust will shatter. The inside will be chewy and open-crumbed. You just made artisan bread with four ingredients and almost zero effort. Welcome to your new hobby.
Baker's Notes
- Use instant yeast, not active dry. Instant yeast doesn't need to be activated in warm water first. It just goes straight into the flour. Active dry yeast CAN work but use the same amount and mix it with the water first until foamy.
- A Dutch oven is essential for this recipe. The enclosed pot traps steam and creates the crust. If you don't have one, a large oven-safe pot with a lid works. Even a ceramic casserole dish with a lid. Just make sure it's oven-safe to 450°F.
- Bread flour makes a chewier loaf with bigger holes in the crumb. All-purpose flour makes a slightly softer loaf with a tighter crumb. Both are great. Use whatever you have.
- The longer the rise, the more flavor develops. 12 hours is the minimum. 18 hours gives you a tangier, more complex flavor. Don't go past 24 hours or the yeast will exhaust all the sugars and the bread won't brown properly.
Nutrition
Calories
150
Fat
0.5g
Carbs
31g
Protein
5g
Sugar
0g
Serving
1 slice (1/10 loaf)
Notes
FAQ
Do I need a Dutch oven?
Why didn't my dough rise?
Can I add things to the dough?
The bread is beautiful outside but gummy inside. What happened?
Reviews
Loading reviews...